Welcome to the TextMate Setup Tutorial.
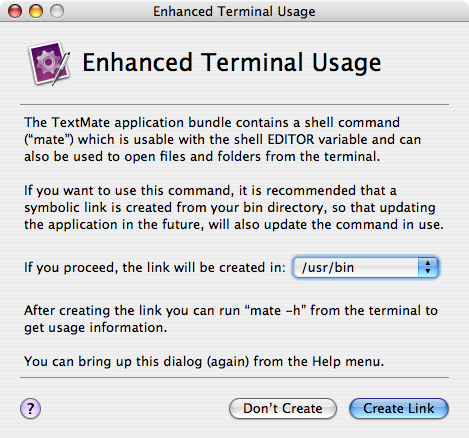
If you can only think of the Ocean and Oysters when you hear “Shell” then you can safely skip this step and select “Don’t Create”. ;)
— Soryu
When starting TextMate the first time this dialog will greet you.

If you are using the Shell (/Applications/Utilities/Terminal.app) this lets you install a command line tool called mate which will invoke TextMate from the Shell. This is a convenient way to open files or folders from the command line and editing them.
mate has the following options:
moiraine:~ foobar$ mate --help
mate r851 (2006-01-04)
Usage: mate [-awl<number>rdnhv] [file ...]
Options:
 -a, --async            Do not wait for file to be closed by TextMate.
 -w, --wait             Wait for file to be closed by TextMate.
 -l, --line <number>    Place caret on line <number> after loading file.
 -r, --recent           Add file to Open Recent menu.
 -d, --change-dir       Change TextMates working directory to that of the file.
 -n, --no-reactivation  After edit with -w, do not re-activate the calling app.
 -h, --help             Show this information.
 -v, --version          Print version information.

If multiple files are given, a project is created consisting of these
files, -a is then default and -w will be ignored (e.g. "mate *.tex").

By default mate will not wait for the file to be closed
except when used as filter:
 ls *.tex|mate|sh      -w implied
 mate -|cat -n         -w implied (read from stdin)

An exception is made if the command is started as something which ends
with "_wait". So to have a command with --wait as default, you can
create a symbolic link like this:
 ln -s mate mate_wait

moiraine:~ foobar$
The Preferences is of course the first thing to customize TextMate. We will step through every setting.
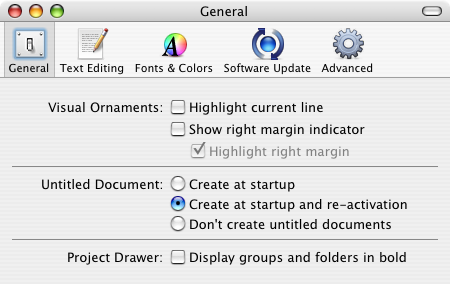
“Visual Ornaments”
“Highlight current line”
This will give the current line a slightly different background color, if the theme (See Fonts & Colors) supports it.
“Show right margin indicator”
This will draw a line to indicate the n-th column. We will set this up later in Gutter Setup.
… will color the background beyond the n-th column differently.
“Untitled Document”
This option specifies if TextMate should create a new window at startup, reactivation or not at all.
“Project Drawer”
“Display groups and folders in bold” says it all. The project drawer might be focus of another Tutorial.
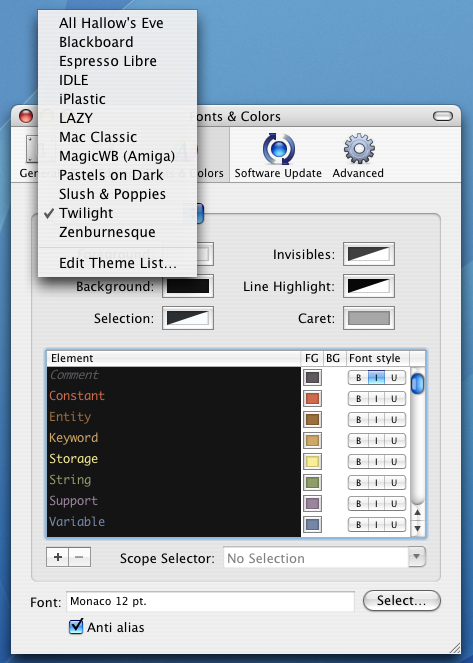
This sub-dialog let’s you select and customize Colors and Themes. This requires some knowledge about Language Grammars and Scope Selectors. This might become a tutorial at some point in time.
New themes are usually published in the Wiki.
Sets the preferences for TextMate Updates. Rather Self-explaining.
This Section of the Manual tells you about the options available here.
Here you can set up Shell Variables to modify the behavior of certain commands globally. You can also do that per Project, in the Projects Settings.
Shell Variables have their own Chapter in the TextMate Manual.
The most important one for anyone who uses HTML will be TM_XHTML. Setting it to / will make all the HTML Bundle Snippets insert correct XHTML by closing single tags like <hr /> and <img />
“Folder References” specify Files and Folders to be included in the Project Drawer. The Manual tells you more about them.
In the General settings we might have changed some attributes of the visual representation of the TextMate Window like highlighting the current line. Here are some more useful settings.
The status bar at the bottom of the TextMate window let’s you customize the settings further.

Visual Tab size and Soft Tabs settings can be made here.
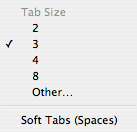
To quote the Manual:
This setting will affect only the current language, and all languages with a common root for which you have not set the option yet. The same applies to the state of spell checking, soft wrap, and the actual tab size.
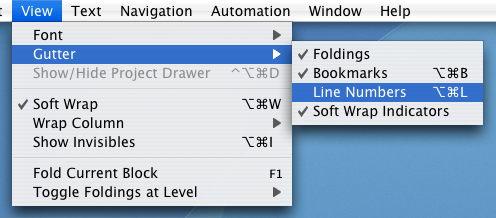
The “Gutter” is the part of the TextMate window left to the Editing Area. It can show Foldings (collapsed text blocks), Bookmarks (little stars in the gutter to indicate lines of interest you can quickly navigate to), Line Numbers and “Soft Wrap Indicators” (Little dots in the Gutter for wrapped line, if Line Numbers are turned off).
The “Soft Wrap” option in the “View” command let’s your text automatically reflow. The “Wrap Column” submenu let’s you specify if reflowing should occur at a certain column or the window border. If “Soft Wrap” is disabled the “Wrap Column” will be used as the “Right Margin Indicator” (see General above).
Use the “Show Invisibles” option to make “Tab” and “Return” characters visible. Remember: This will make spaces visible.
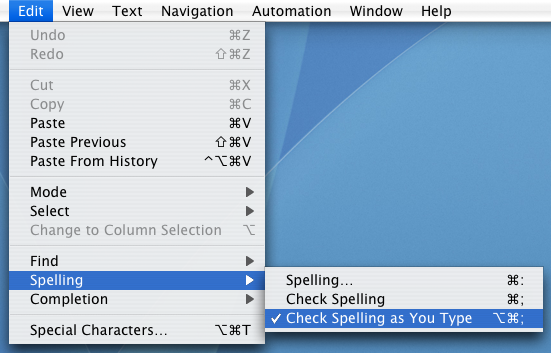
“Check Spelling as You Type” is a rather intelligent feature which will only check spelling of relevant text (E.g. only strings in source code) and it works differently than e.g. in “TextEdit” where Spellchecking is only done after one moves the caret around the word. Enable/Disable it with this setting.

Here is the result. I turned on “Highlight Current Line”, “Line Numbers” in the Gutter, “Show Invisibles” and “Check Spelling as You Type”.
Now you’re ready for the next step: The Basics Tutorial. —Soryu